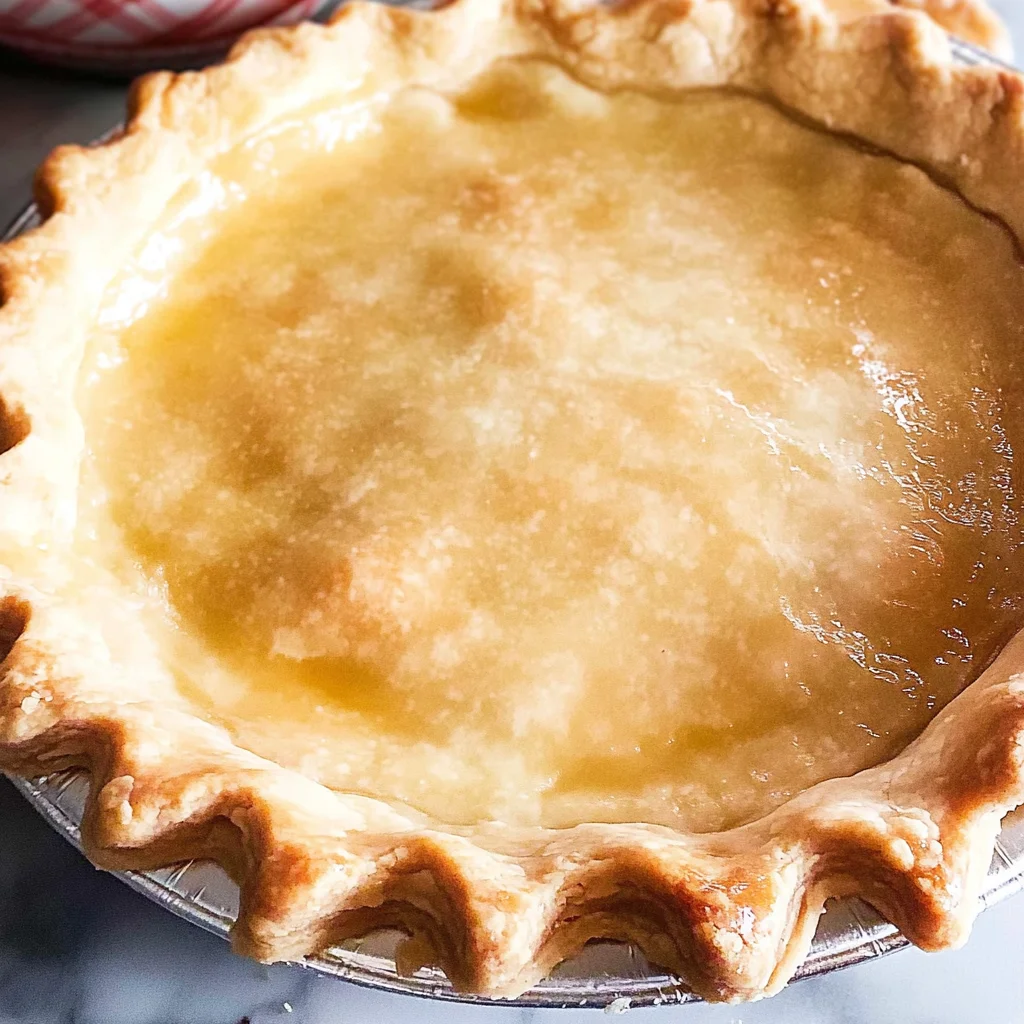
Easy Homemade Pie Crust
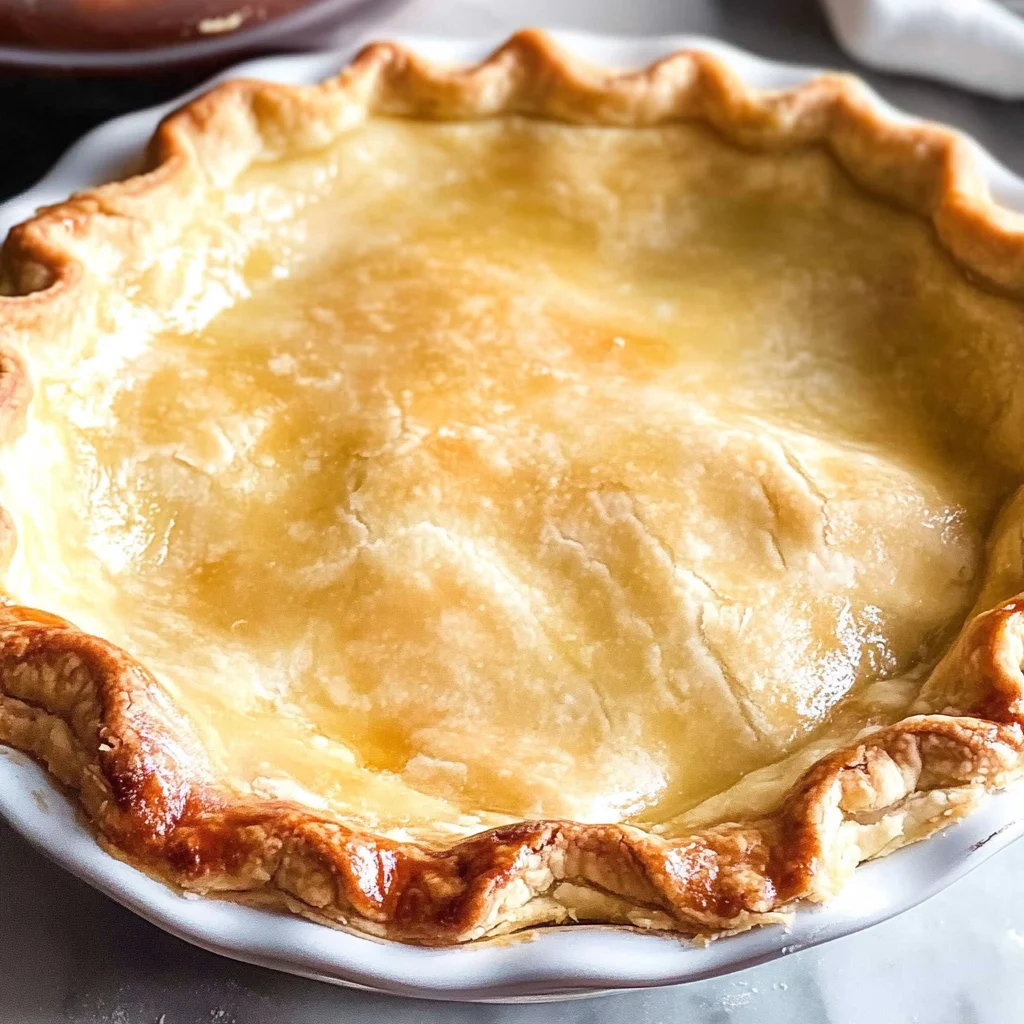
If you’re looking for a way to elevate your next pie, you’re in the right place! This Easy Homemade Pie Crust is a game-changer. With just a handful of simple ingredients, you can create a flaky, buttery crust that will make any filling shine. Whether it’s a busy weeknight dessert or a centerpiece for family gatherings, this recipe is sure to be your new go-to.
What makes this crust special? It’s not only easy to make but also versatile enough to suit any occasion. You’ll love how effortlessly it comes together, and the satisfaction of making something from scratch is always rewarding!
Why You’ll Love This Recipe
- Easy to prepare: No complicated techniques here! Just mix, chill, and roll out.
- Family-friendly fun: Get the kids involved in rolling out the dough and choosing their favorite fillings!
- Make-ahead convenience: Prepare the dough in advance and store it in the fridge until you’re ready to bake.
- Delicious flavor: The combination of cold butter and vinegar ensures a rich taste that pairs perfectly with sweet or savory fillings.
Ingredients You’ll Need
This Easy Homemade Pie Crust calls for simple, wholesome ingredients that you probably already have in your kitchen. Let’s gather what we need!
For the Crust
- 2 1/2 cups all-purpose flour
- 1/2 teaspoon salt
- 3/4 cup cold unsalted butter (cubed)
- 1 teaspoon apple cider vinegar
- 1/2 cup ice-cold water
Variations
One of the best things about this Easy Homemade Pie Crust is its flexibility! You can easily adapt it to suit your tastes or what you have on hand.
- Swap in whole wheat flour: For a nuttier flavor and extra fiber, use whole wheat flour instead of all-purpose.
- Add herbs: If you’re making a savory pie, consider mixing in some dried herbs like thyme or rosemary into the crust for added flavor.
- Use different fats: Try substituting half of the butter with coconut oil for a unique twist!
- Make it sweet: A tablespoon of sugar can be added for sweet pies if you’re aiming for a dessert that has that little extra sweetness.
How to Make Easy Homemade Pie Crust
Step 1: Blend dry ingredients and butter
In a large mixing bowl, combine flour and salt. This step is crucial as it evenly distributes the salt throughout the flour. Next, add the cubed cold butter. Use pastry blenders or your fingers to blend until you have crumbs. This texture will help create flakiness in your crust.
Step 2: Make pastry
In a measuring jug, mix together apple cider vinegar and ice-cold water. Slowly pour this mixture over your crumbly dough. Mix just until it starts coming together—this part is key! Overworking can lead to tough crusts. Once combined, form it into a ball, divide it into two disks, wrap them in foil, and chill them for an hour.
Step 3: Roll out crust
After chilling, take one disk of pastry and place it between two sheets of baking parchment. Roll it out gently into a circle that’s slightly larger than your 9-inch pie dish. This technique minimizes sticking while rolling. Once rolled out, fit it into your lightly greased pie dish and return it to the fridge while you prep your filling. If you’re making a double-crust pie, repeat this process with the second disk!
And there you have it—your very own Easy Homemade Pie Crust ready for all those delicious fillings! Enjoy baking!
Pro Tips for Making Easy Homemade Pie Crust
Making pie crust from scratch can be a delightful experience, especially when you know a few tricks to perfect it!
-
Use cold ingredients: Keeping your butter and water icy cold helps create a flaky texture. Warm ingredients can lead to a tough crust, so make sure everything is chilled before you start mixing.
-
Don’t overwork the dough: When combining the ingredients, mix just until it comes together. Overworking the dough develops gluten and can result in a chewy crust instead of a tender one.
-
Chill the dough properly: After forming your disks, chilling them for at least an hour allows the gluten to relax. This step makes rolling out easier and helps prevent shrinkage during baking.
-
Roll on parchment paper: Rolling out your dough between two sheets of parchment paper minimizes mess and sticking. It also makes transferring the rolled-out dough to your pie dish much easier!
-
Blind bake if needed: If you’re using a custard filling or want to prevent sogginess, consider blind baking your crust. Simply line it with parchment and fill with pie weights or dried beans before baking for a few minutes.
How to Serve Easy Homemade Pie Crust
Serving your homemade pie crust can be as fun as making it! Whether you’re preparing a classic dessert or something more adventurous, presentation matters.
Garnishes
- Whipped coconut cream: A dairy-free alternative that adds a light sweetness and creamy texture, perfect for topping pies like pumpkin or apple.
- Fresh fruit: Sprinkling some fresh berries or slices of fruit on top adds color and freshness, enhancing both the look and taste of your pie.
Side Dishes
- Vanilla ice cream: A scoop of vanilla ice cream pairs beautifully with warm pie, providing a delicious contrast in temperature and flavor.
- Caramel sauce: Drizzling warm caramel over your slice adds richness and an extra layer of sweetness that complements many fruity pies.
- Salad with citrus dressing: A refreshing side salad balances the sweetness of dessert. Choose greens like arugula or spinach tossed with a zesty citrus vinaigrette for a bright contrast.
- Cheese platter: Offering a selection of cheeses serves as an excellent appetizer before digging into dessert. Soft cheeses like goat cheese or brie can be delightful alongside fruity pies.
With these tips and serving ideas, you’re all set to impress your family and friends with delicious homemade pies! Enjoy every slice!
Make Ahead and Storage
This easy homemade pie crust recipe is perfect for meal prep! You can make the dough in advance and store it for later use, making your pie-making process much smoother when you’re ready to bake.
Storing Leftovers
- Keep any leftover pie crust dough wrapped tightly in plastic wrap or stored in an airtight container.
- It will last in the refrigerator for up to 3 days.
- If you have baked pie leftovers, cover them with plastic wrap or foil and store them in the fridge for up to 4 days.
Freezing
- To freeze unbaked pie crust, wrap each disk of dough tightly in plastic wrap and then place it into a freezer-safe bag.
- It can be frozen for up to 3 months.
- For baked pies, ensure they are completely cooled before wrapping tightly and freezing.
Reheating
- To reheat a frozen baked pie, thaw it overnight in the fridge before placing it back into the oven at 350°F (175°C) for about 15-20 minutes until heated through.
- For unbaked frozen crusts, bake from frozen at 425°F (220°C) for about 10-15 minutes before adding your filling, or bake according to your pie recipe instructions.
FAQs
Here are some common questions you might have while making this easy homemade pie crust.
Can I make this Easy Homemade Pie Crust without vinegar?
Absolutely! The vinegar helps tenderize the dough but if you prefer not to use it, you can replace it with an equal amount of lemon juice or simply omit it altogether.
What should I do if my Easy Homemade Pie Crust cracks while rolling?
If your dough cracks, don’t worry! Just press it back together with your fingers. If it’s too dry, add a teaspoon of ice-cold water at a time until it comes together smoothly.
How do I know when my Easy Homemade Pie Crust is done baking?
Your crust is ready when it’s golden brown around the edges and feels firm to the touch. Keep an eye on it during baking to avoid over-browning!
Can I use whole wheat flour instead of all-purpose flour for this Easy Homemade Pie Crust?
Yes! Whole wheat flour can be used; however, keep in mind that it may change the texture slightly. You might need to adjust the amount of water accordingly.
Final Thoughts
I hope you find joy in making this easy homemade pie crust! It’s a wonderful base for countless delicious fillings and brings warmth and comfort to any gathering. Enjoy experimenting with flavors and fillings—your friends and family will be so impressed with your homemade creations. Happy baking!
Easy Homemade Pie Crust

Elevate your dessert game with this Easy Homemade Pie Crust, a delightful and versatile base for both sweet and savory fillings. This flaky, buttery crust is easy to whip up with just a handful of simple ingredients, making it perfect for any occasion—from weeknight treats to festive gatherings. The satisfaction of creating your own pie crust from scratch will impress your family and friends while allowing you to customize it with your favorite flavors. Get ready to roll out a delicious foundation for all your pie-making adventures!
- Prep Time: 15 minutes
- Cook Time: Varies based on filling
- Total Time: 0 hours
- Yield: About 8 servings 1x
- Category: Dessert
- Method: Baking
- Cuisine: American
Ingredients
- 2 1/2 cups all-purpose flour
- 1/2 teaspoon salt
- 3/4 cup cold unsalted butter (cubed)
- 1 teaspoon apple cider vinegar
- 1/2 cup ice-cold water
Instructions
- In a large mixing bowl, combine flour and salt. Add the cold cubed butter and blend until crumbly.
- Mix apple cider vinegar and ice-cold water in a separate jug. Gradually pour this mixture over the dry ingredients, mixing just until combined.
- Form the dough into two disks, wrap in foil, and chill for at least one hour.
- Roll out one disk between two sheets of parchment paper into a circle larger than your pie dish. Fit into the greased dish and return to the fridge while preparing the filling.
Nutrition
- Serving Size: 1 slice (57g)
- Calories: 230
- Sugar: 0g
- Sodium: 85mg
- Fat: 14g
- Saturated Fat: 9g
- Unsaturated Fat: 5g
- Trans Fat: 0g
- Carbohydrates: 24g
- Fiber: 1g
- Protein: 3g
- Cholesterol: 30mg